Thursday, January 17, 2013

We Have Moved...


We have moved to entirelycrafty.weebly.com


The reason for the move you might ask?  I love to blog about all that I am doing but I also love to craft, and trying to maintain 3 blogs is very time consuming.  So instead of having 3 seperate blogs for the different things I love to do, I decided it would be better to just have one. 

Things to look for on my new blog: 
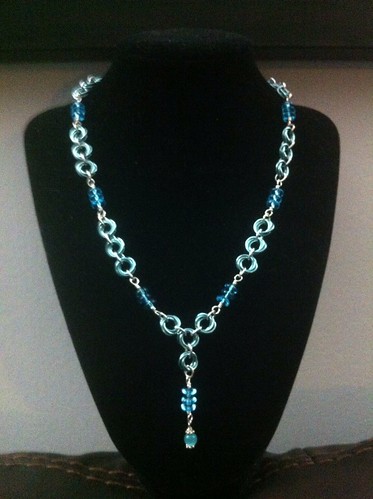
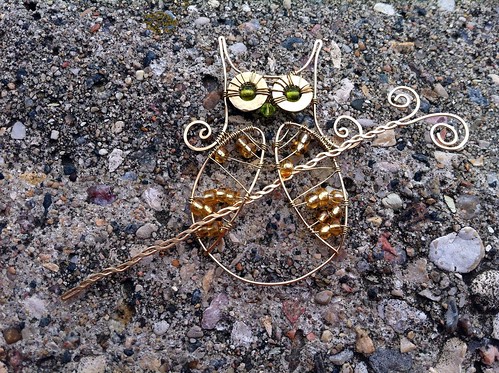
  • on the right side panel you will see categories.  If you wish to see just posts about Wired Whimzee then click on that category and they will be filtered to one page, so that you can browse any of my latest goings on with my jewelry business
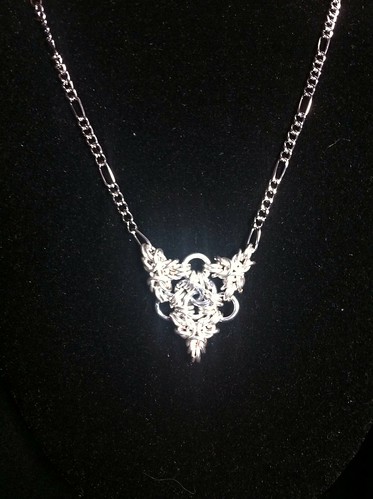
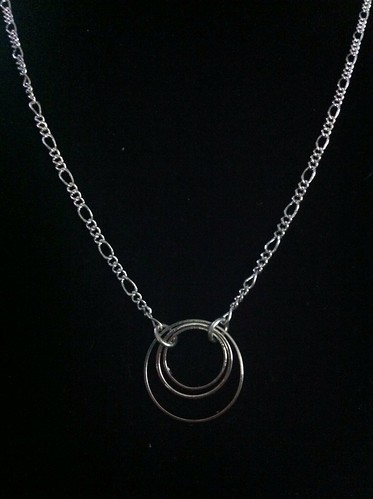
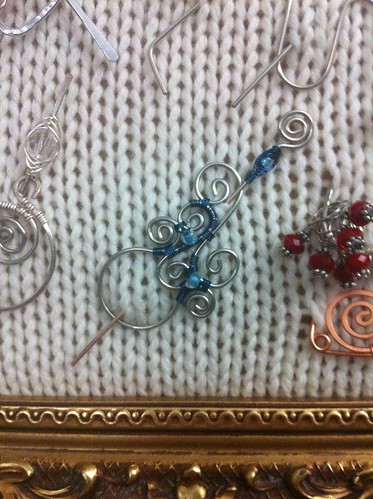
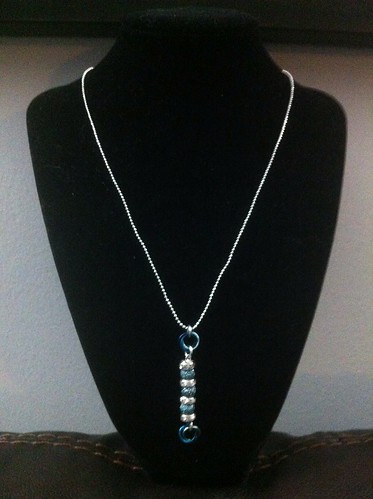
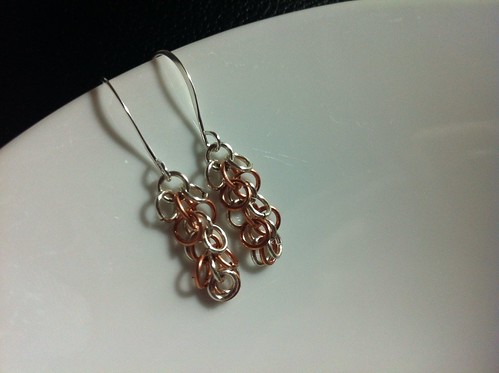
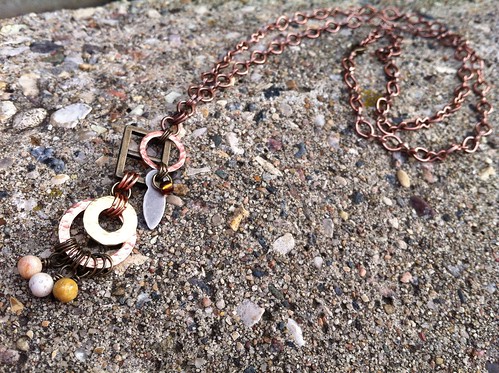
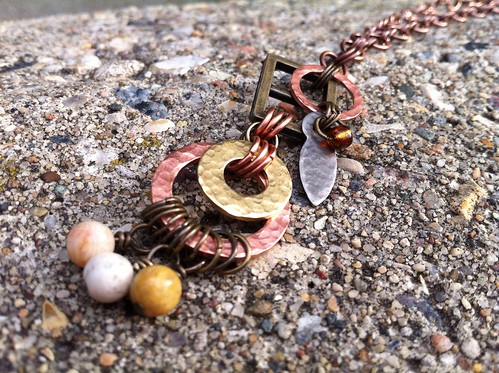
  • on the left side panel you will see Jewelry listed.  This is my jewelry gallery.  
  • If you are interested in any of the pieces, or would like to talk about a custom piece just for you, then please click on the little envelope icon which you will find at the top of each page.
I hope this consolidation to one blog will give me more time to craft!

See you over at my new space!!

Friday, October 12, 2012

Some new pieces

I have been doing some creating over the last few days. I hope you enjoy.


Sunday, September 23, 2012

An Up Coming Sale!

So, I bought a table at a small craft fair  on September 29, in one of the small towns south of Regina called Gladmar!  I am so excited to go, and even though its going to be a long day for me, I can't wait!

I have been busily getting ready for the sale.

Here are a few of the things that will be going with me...


Tuesday, July 17, 2012

Some Custom Work.

I recently made a custom set for a friend.  The custom set was based upon the silver rubies bracelet I made from a tutorial in one of the magazines that I have.

I am really pleased with the way the whole set turned out.  And I wish my friend luck at her big event that these are for!!


The next piece I made is a 3 in 1 shawl pin.

Here is the whole piece.


Just the shawl stick.


And just the leaf.


enjoy!
Lindsay

Tuesday, July 3, 2012

Great Inspirations come from everywhere.

I was in my local bead store, yet again today...lol...I could spend hours in there and its just a tiny shop.  And she had made some cute earrings with chainmaille.

I thought they were pretty cute, and so I wanted to try them myself... so here they are...


I thought I would do a quick free tutorial for you all as well, after I figured out how to make mine.  My first one for wire jewelry.  It is to make these earrings.

Here is what you will need.

1/8" Jump Rings, any number, I wouldn't recommend doing any less then 3 layers though, to get the effect of it all.
Earring Findings

Tools
Flatnose or straightnose pliers to open and close the jump rings.

1.  Lay out how you would like your layers to look.  Each layer is made up of 3 rings.


2.  Starting at the bottom of the rings, close the whole bottom row, and open the middle ring on the next row up and add all 3 of the bottom rings to it.  close the ring.


3. On the row that now just has the 2 outer rings, close both of those. and then add one of those closed ring, then the cluster created in the last step, and then the next ring.


4. Repeat step 3 until they are the length you would like them to be, and before closing your last middle jump ring add your earring finding to it.


Here are some variations to this design,

These two sets I made by adding seed beads to my outer rings before attaching them.


These ones I made by making my first middle ring from an accent bead and a wire wrapped loop instead of a jump ring.


Here are some with different colored jump rings, from left to right, same color rings, all different colours from the same family, and then 2 sets of layered colored rings.


Enjoy!!
Lindsay


Saturday, June 16, 2012

Being sick, isn't fun!

I have been sick for the past week with a nasty all energy draining cold.  I lose all my energy to do anything not even sit on the couch and knit!  So needless to say my jewelry time has been none!

But I do have some updated photos of pieces for you, which you may have seen on my Facebook page.  But if not, enjoy!!

A matching set...This is the matching bracelet and earrings with the necklace I shared on my last post.


A bangle bracelet,  this one is available in my etsy shop.


And some stitch markers. 


Cosmic Saturn Ring...


I will have more photos soon as I made a few other pieces on last monday night.

Enjoy!

Lindsay

Thursday, May 31, 2012

New Pieces

I have been busy, but found a little time for some wire work...

Here is an own shawl pin...


And a necklace, there will be a matching bracelet and earrings for this one too!


And a close up of the pendant, just because I like it so much.  If you do Stampin' Up! perhaps you may recognize a few of the elements :).  I used to be a demonstrator, and I have all of this stuff left over, I am so happy to be able to use some of the hardware in my pieces!!


Enjoy!
Lindsay

Monday, May 21, 2012

Another Shawl Pin

These shawl pins are addictive to make.  I also tried a new technique on this one, Wire Weaving.

This shawl pin is a custom make for a friend who just finished a big shawl.  I have a sample of the yarn and this will match perfectly!!

First I did a little doodling, on actual paper...lol...I could have used my iPad, or computer to doodle.  But I have yet to find a stylus that I like for this purpose.


Here is the start of the piece.  It was fun to do the weaving, I wove 3 wires together...


I framed the main bead, since it is a leaf, and it is semi flat, I thought I would try a framing technique...


Here is the final piece...


Lindsay

Sunday, May 20, 2012

Beaded Shawl Pin

Inspiration can come from pretty much anywhere.  Because I am still learning a lot of my inspiration comes from other peoples pieces.  This one comes from Dropstitchknitter.  I really liked the look of her shawl pins and decided to try one on my own.

My coils are a bit tighter and I added some elements to the pin part of the shawl pin.  I suppose you could also wear this in your hair as well.


Enjoy!
Lindsay

Saturday, May 19, 2012

Post Earrings!

These fun and quick earrings are a free tutorial over on Gailavira's Blog.  You can check it out as well as many other tutorials that she has.  She does some amazing wire weaving work and I hope to learn a lot from her through her tutorials!!

So quick to make, that if you don't have something to wear to a party just sit down for a few minutes and presto, matching earrings for your outfit!


A few things I learned with this tutorial, as someone put it somewhere I was reading if you bend the wire too far, you can bend it back...lol... and the next ones of these I make, I will make sure the beads around the centre stone don't move around before I attach them...lol...oh well its good practice anyways!!  


Enjoy!
Lindsay